
6 channel Wi-Fi relay board with fan speed control using ESP32 microcontroller
In this page I will going to explain the 6 channel Wi-Fi relay board with fan speed control using ESP32 micro-controller.
Main Parts used
- ESP32 dual core micro-controller;
- AVR micro-controller;
- ULN2003;
- Hi-Link power module;
- BT136;
- Resistors;
- capacitors;
- relays;
- etc..
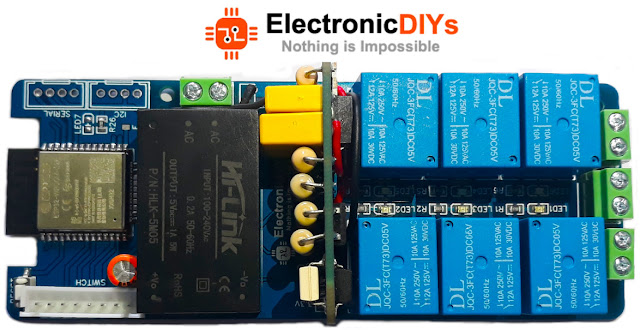
ESP32 dual core micro-controller is used as a main controller, it is used to WiFi operations and control the AVR micro-controller and relay by giving the signal according to our web input. AVR micro-controller is used for control the fan speed.
Works with
- Google Home;
- Alexa;
- Sinric Pro;
- MQTT;
- Tasmota Firmware.
Connection diagram
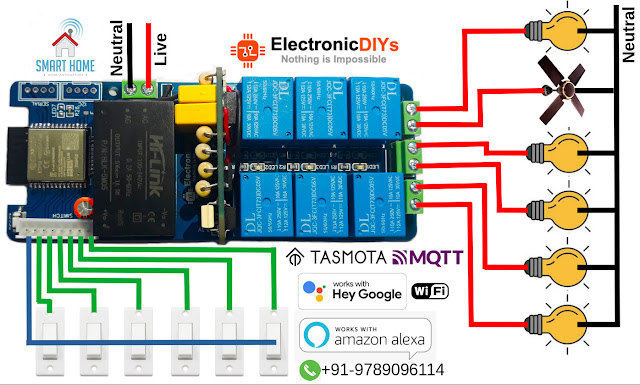
Above diagram shows how to connect the home appliances to this board. This board has 6 switch input and 6 outputs to connect home appliances. Total 6 output ports . 5th port is used for fan speed control other port only support for on and off functions.
Working details
This device has its own web server and working with two modes.
Selection Mode
- AP mode
- Client mode
AP mode:
In this mode the device will act as a Access-point can connect the device with SSID and PASSWORD from mobile / PC and open a web browser type the IP address and hit enter, after loaded the device web page can able to control the relays.
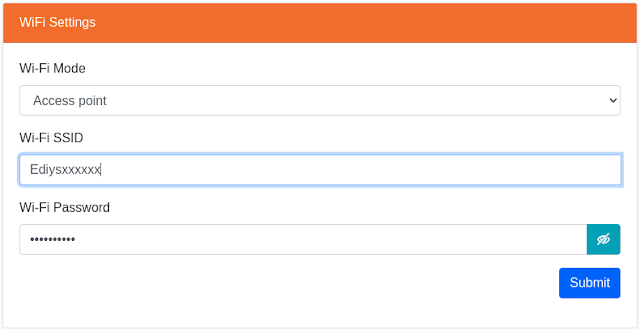
Default settings
SSID: EdiysXXXXXX
PASSWORD: password123
IP ADDRESS: 192.168.4.1
the above default settings will be applied after factory reset.
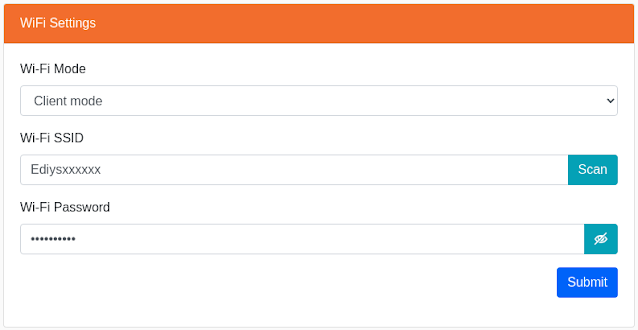
Client mode:
In this mode device will act as a client of the home access point / router. in server settings page select the WiFi mode to client then click scan button for scan the near by WiFi device. select the scanned network and enter the correct password and click submit button. then restart the device for connect the device.
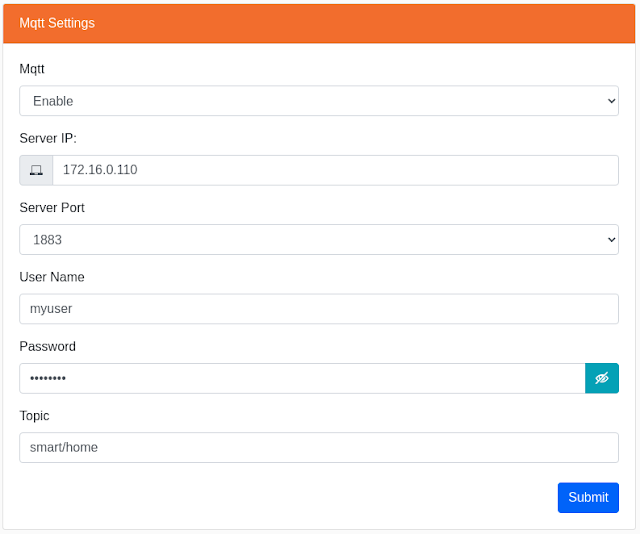
MQTT Settings
mqtt support local or cloud based server with Authentication.
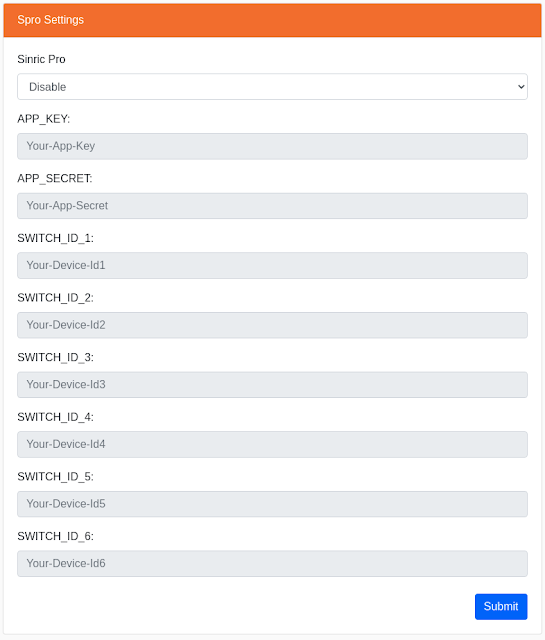
Sinric Pro Settings
With Sinric Pro, you can connect your IoT development board to Alexa & Google home. you can create your own custom devices, set up rooms and routines, and monitor all your devices via REST API. Unlock high-availability, highly secure, and well-documented Alexa & Google home Integration for your projects for FREE today!
Getting started:
1. Visit https://sinric.pro
2. Create a free account and log in
3. From the Alexa app or dashboard, Install & Enable the "Sinric Pro" Smart Home Skill
4. Create a new device eg: TV. Note the authorization token, signing key, and device-ID for your new device.
5. Copy any past the app key, app secret and switch ids and save the settings then restart the device.
6. That’s It!
Switch Label Settings
This settings created for change the custom labels. Location and Room both label is used here for server identify the device. leave any value if sever not using.

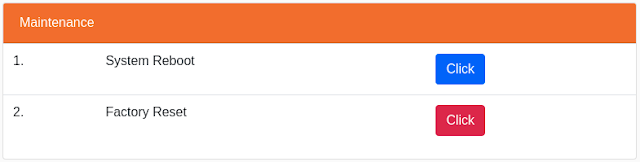
Maintenance
Used for system soft reboot and factory reset the device.
Hello I brought your device. I was able to connect the switches but was not able to open the webpage after connecting to my home network
ReplyDeleteYou possess lifted an essential offspring..Blesss for using..I would want to study better latest transactions from this blog..preserve posting.. Gali result
ReplyDeleteDigital door lock systems in Singapore for HDBs combine elegance with solid protection. digital door lock and access control Singapore for HDB and condos
ReplyDelete